Sellers
Sellers are an important part of your project. They allow you to set up communication with the customer and branding for different shipments. At the project level, you can create sellers that will be used for sending shipments (may vary depending on the selected subscription).
Thanks to the seller, you are able to set how your tracking page and e-mail for the customer will look, what notifications will be sent, and in what language the communication will take place.
How to create a seller
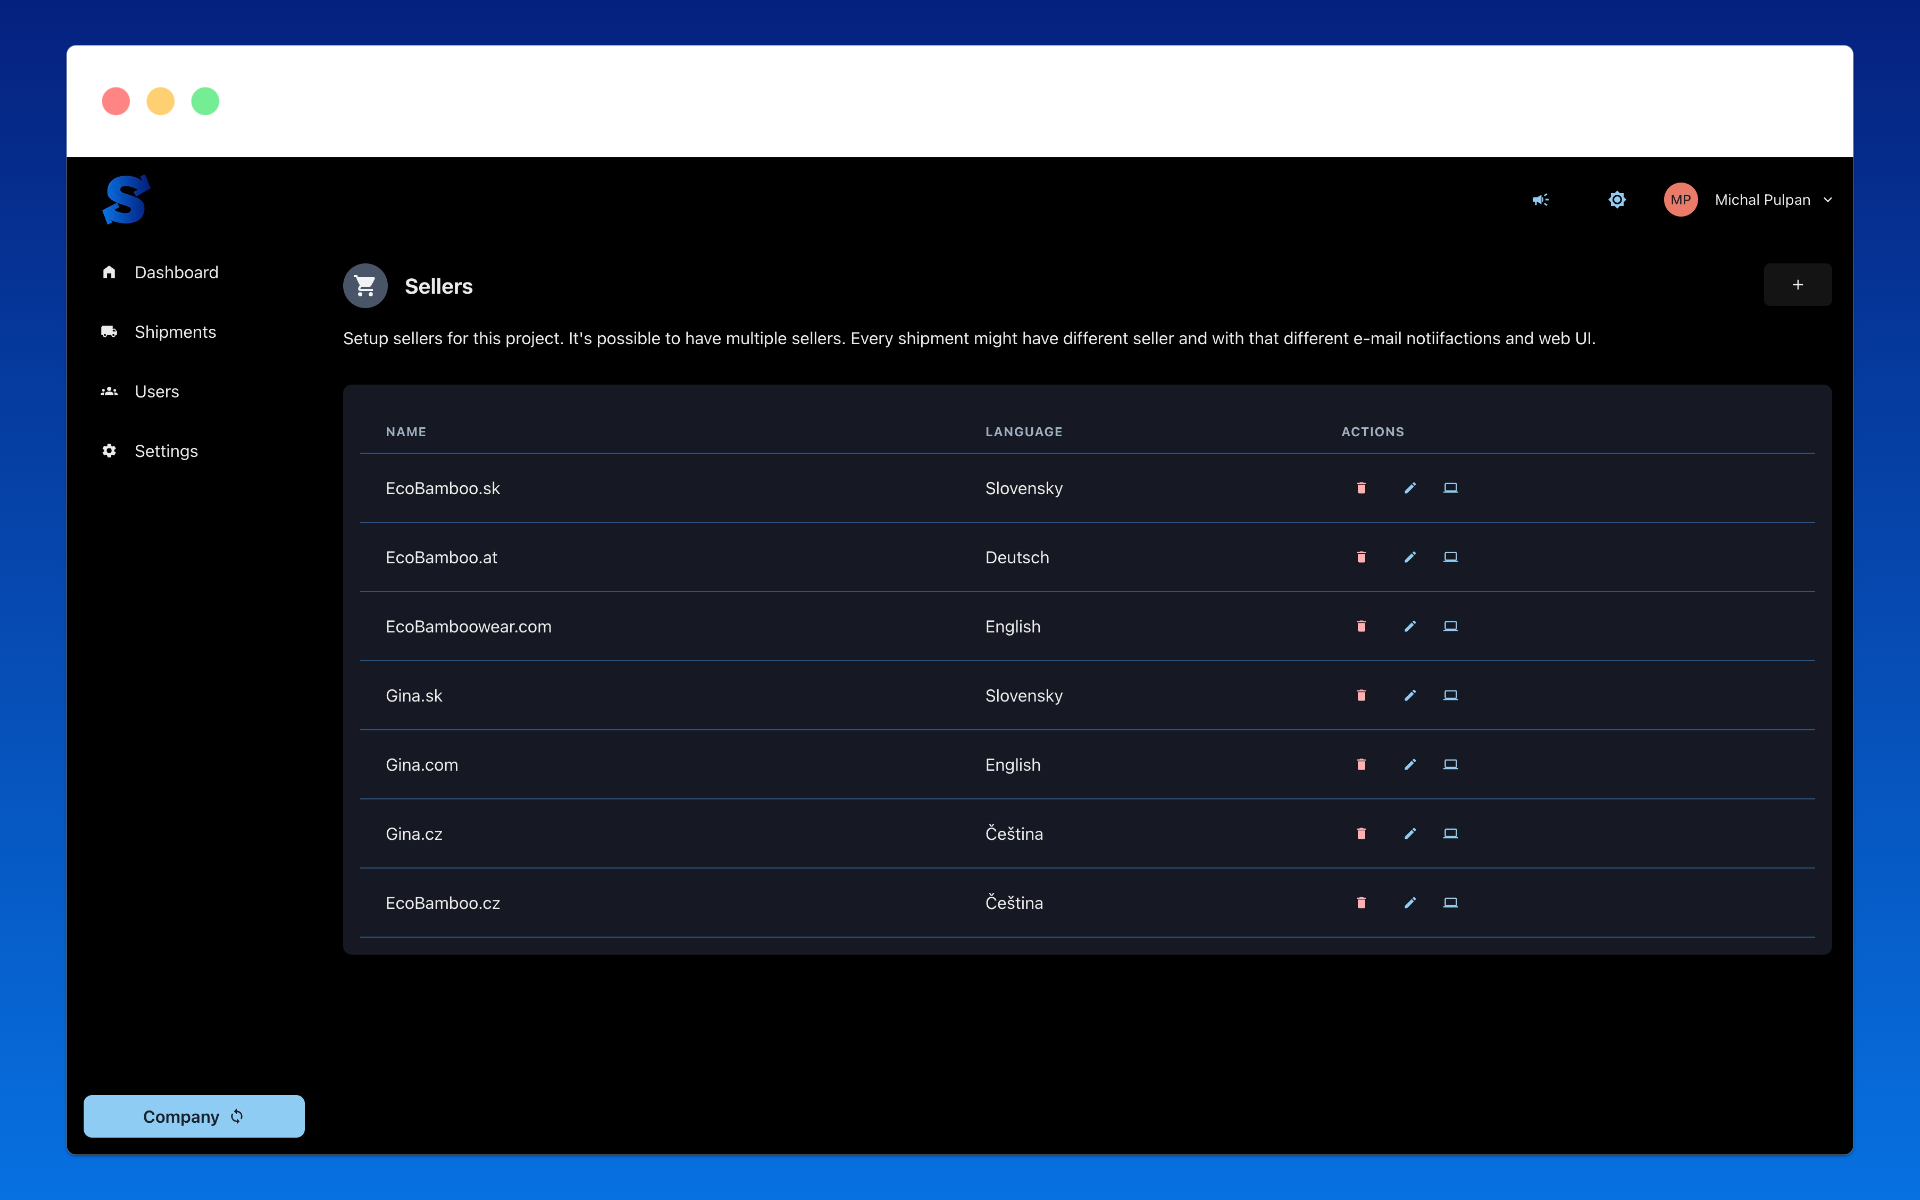
To create a seller, go to the left menu to the "Settings" -> "Sellers" section and click on "Edit".
You will see a list of all sellers you have already created and you can create a new seller by clicking the "Create seller" button.
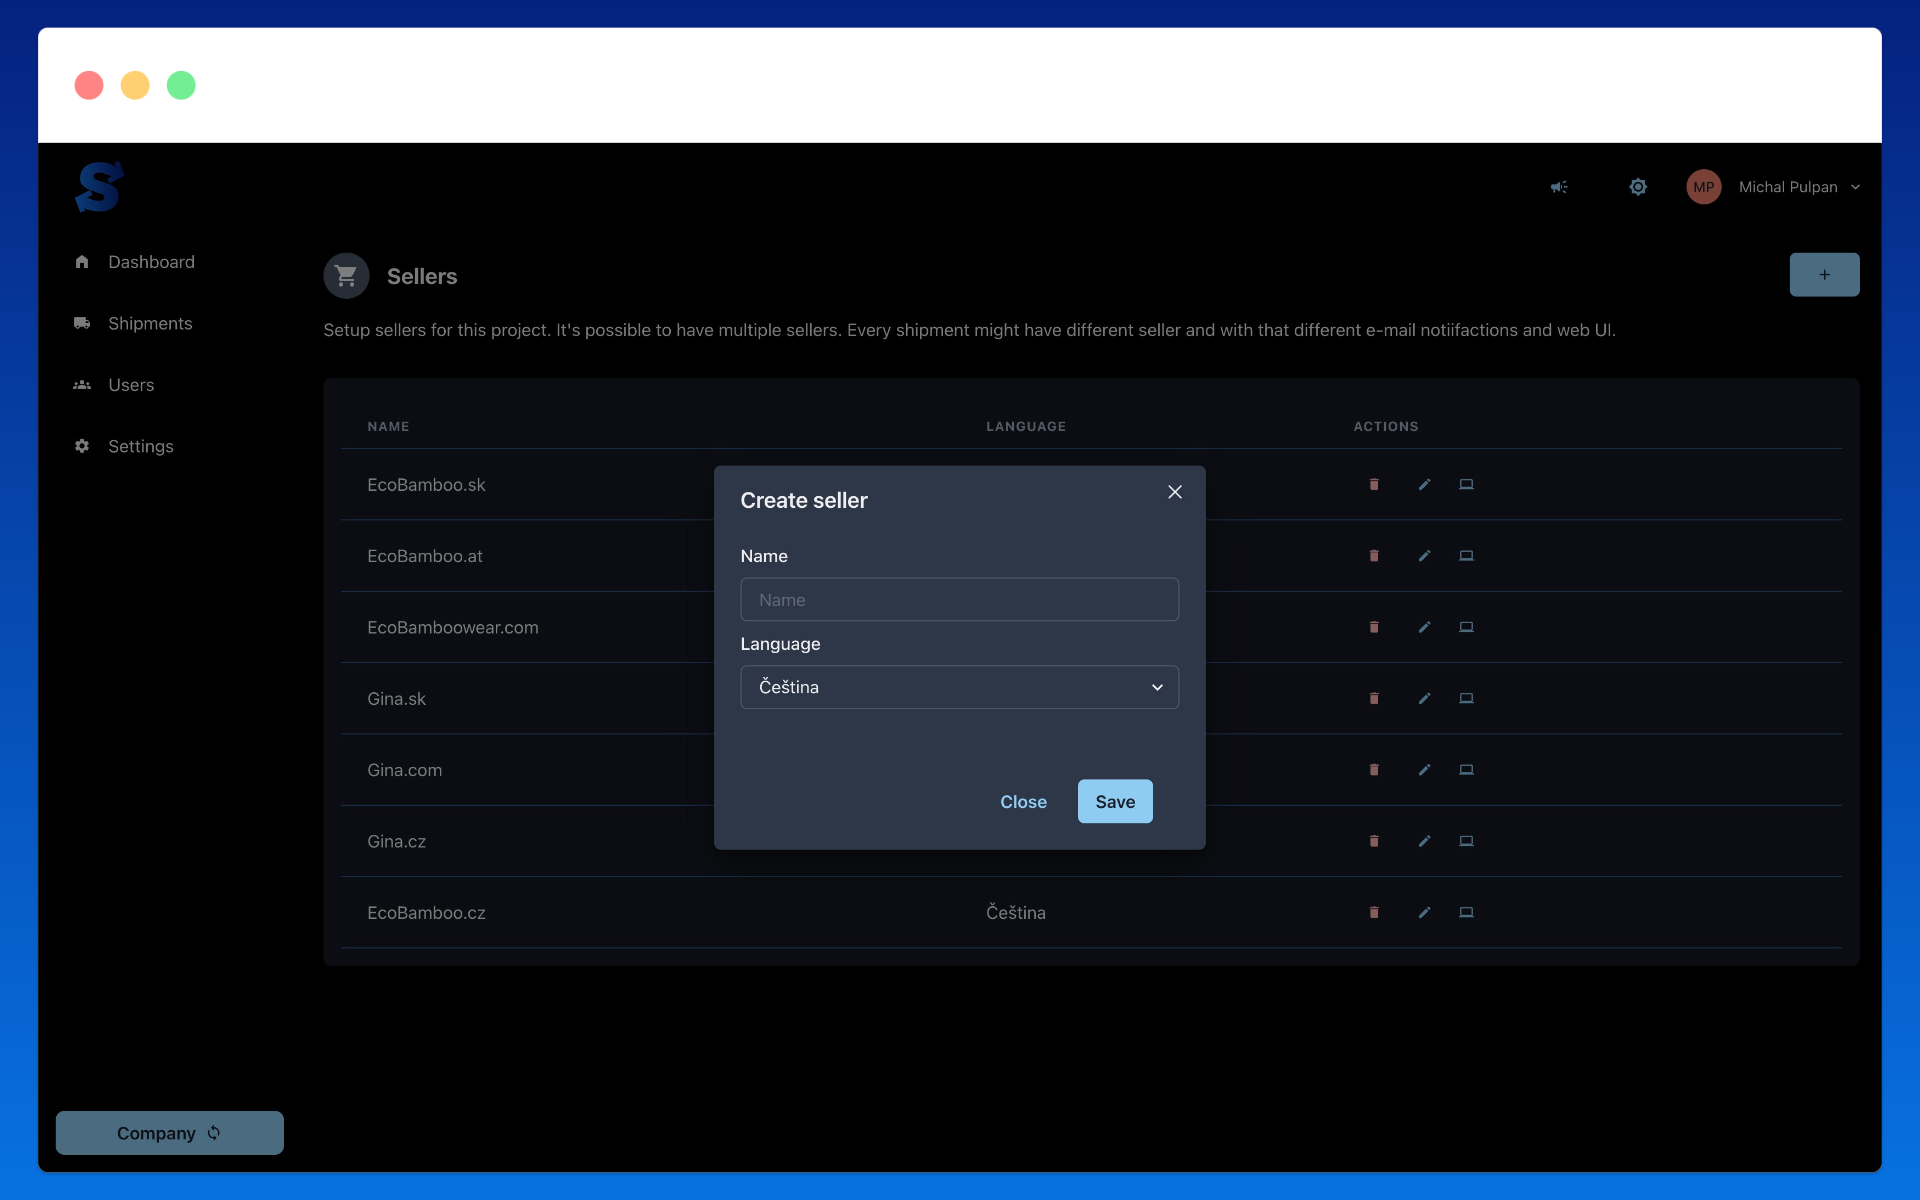
After clicking the "Create seller" button ("+" in the top right corner), a form will appear where you fill in all the languages of communication and the name of the seller (which you will then use when creating shipments).
How to edit a seller
After creating the seller, you will see a list of all sellers you have already created. By clicking the "Edit" button on the seller's row, a form will appear where you can change the language of communication or the name.
How to set up branding for the seller and communication
To set up branding for the seller and communication, click on the "Edit UI" button on the seller's row. A form will appear where you can set the branding for the seller and communication.

After clicking the button, a form will appear where you can set the colors, logo, and texts for the seller. By changing the color mode of the administration (dark mode/light mode), you also change the display of the tracking page for the customer as they will see it in that mode. If you do not want to enable dark mode, you can turn it off in the seller's settings and the customer will not see it.

Web / E-mail
Additionally, you can set up the texts for the tracking page and e-mail communication. You can also switch between web and e-mail display in this form. The settings are shared for both communications, but you can see how the e-mail and web will look.
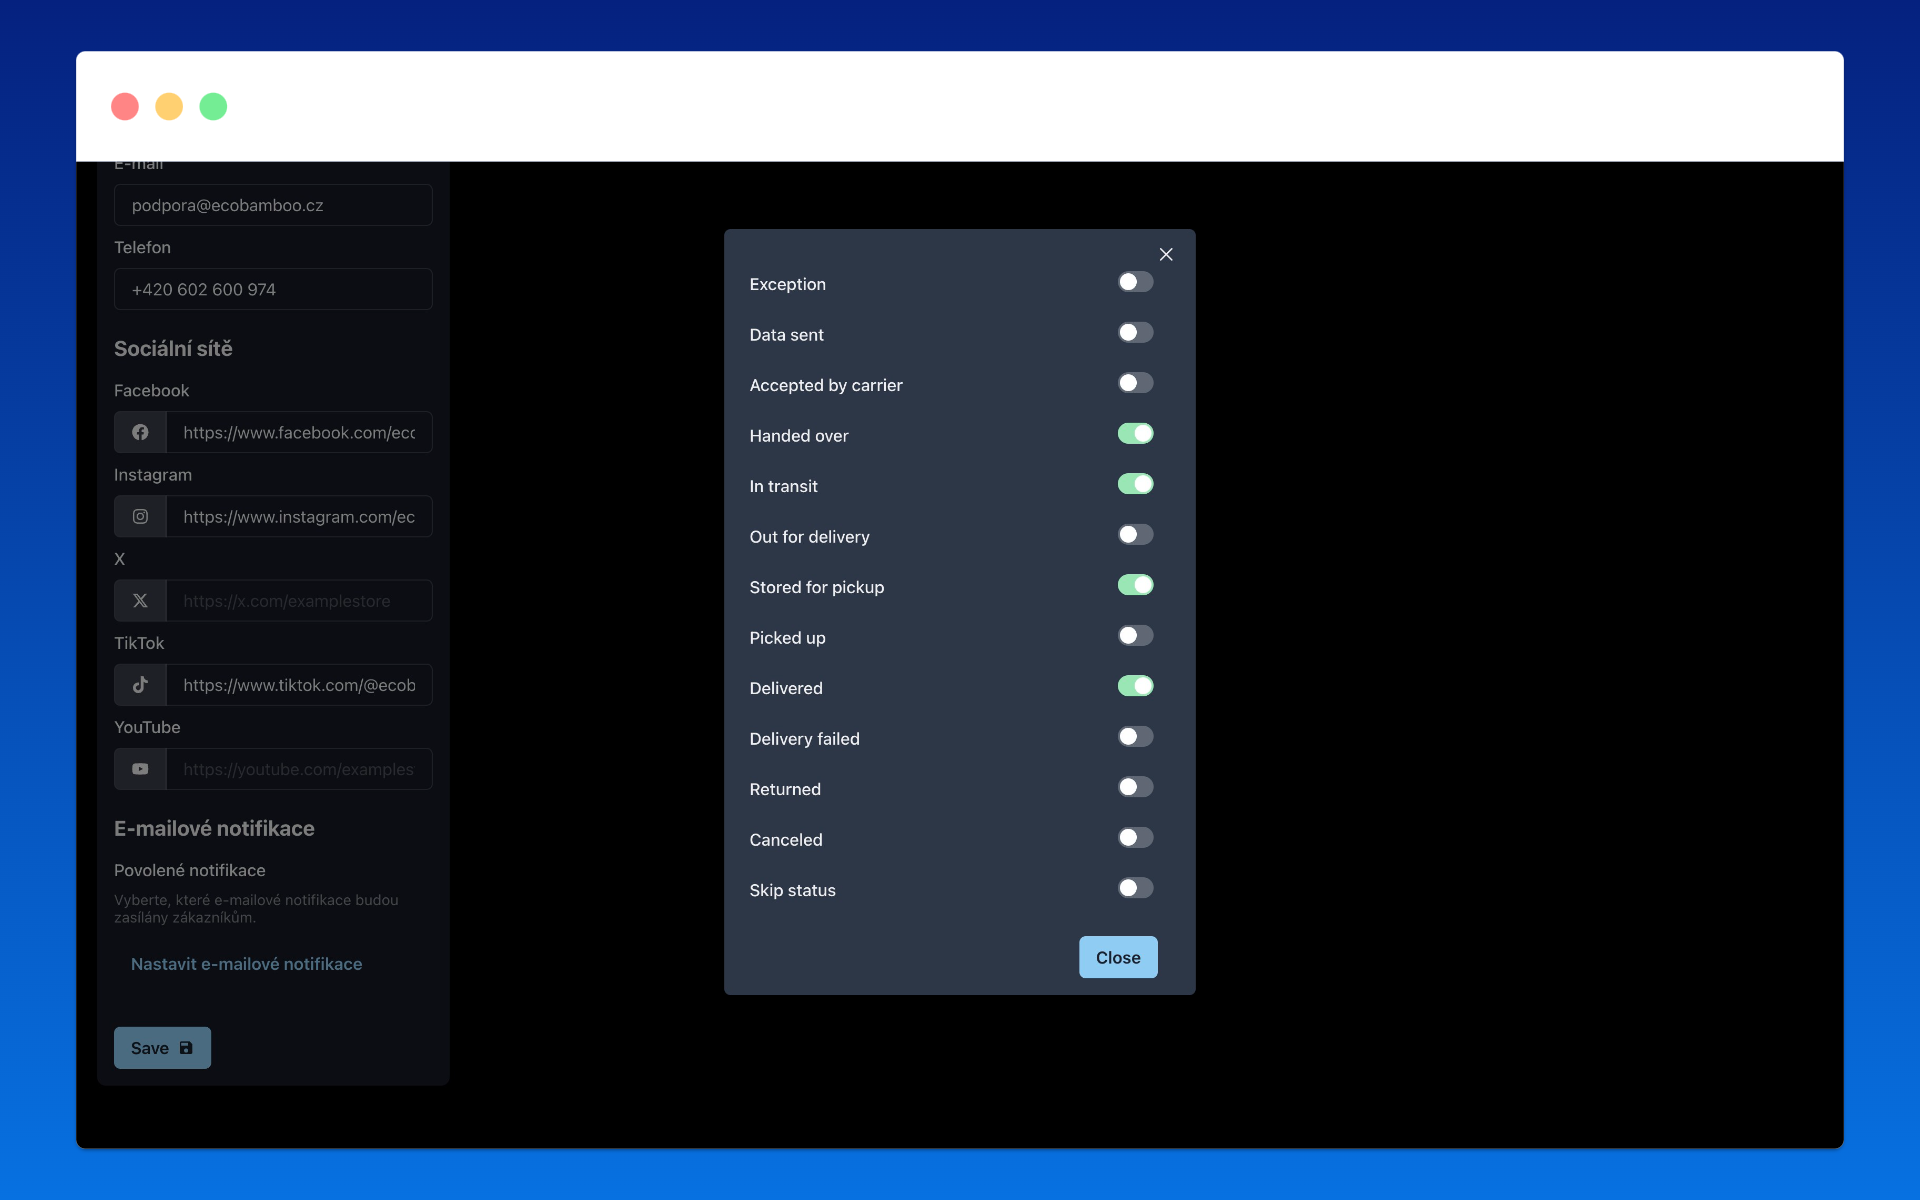
Setting up e-mail notifications
Seller can also have e-mail notifications set up. You can set up the e-mail notifications in the "E-mail notifications" tab. You can set up the e-mail notifications for the seller for different shipment states. The seller can also have e-mail notifications banned for selected states. You can send a notification e-mail only for selected shipment states (e.g. only for handing over the shipment to the carrier). We recommend setting up notifications so that the customer does not receive unnecessary e-mails, but at the same time is informed about important shipment states.